Tips For Building A Stone Retaining Wall In Your Garden On A Budget
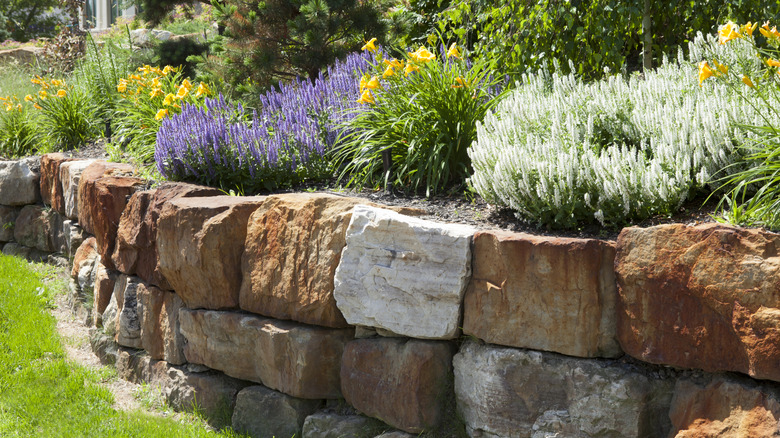
Before you start building a stone retaining wall, it's important to assess your garden's landscape and determine where the wall will be most effective. Take note of any slopes, erosion-prone areas, or places where extra support is needed to create a level planting area. This initial assessment will help you establish the purpose of your retaining wall, whether it's purely for structural stability or for aesthetic enhancement as well.
Understanding your soil type is also crucial. Some soils, like sandy or gravelly soils, drain well and require less reinforcement. Clay-heavy soil, on the other hand, retains moisture and may exert more pressure on the wall over time, necessitating better drainage solutions. By identifying potential challenges beforehand, you can take steps to mitigate future problems, ensuring a long-lasting and cost-effective structure. Additionally, consider the height and length of the wall, as these factors will influence material costs and labor.
There are many outdoor renovation projects you shouldn't do yourself. However, a low wall (under three or four feet) is easy to build and generally doesn't require professional reinforcement. Taller walls may need engineering consultation to ensure stability. Mapping out your garden space and wall design before purchasing materials prevents unnecessary expenses and helps you create a plan that aligns with your budget. Planning ahead allows you to focus on cost-effective solutions that still provide durability and functionality. And if you want to do more than just wall building, take your landscaping to the next level with these DIY paver projects.
Choose affordable stone options
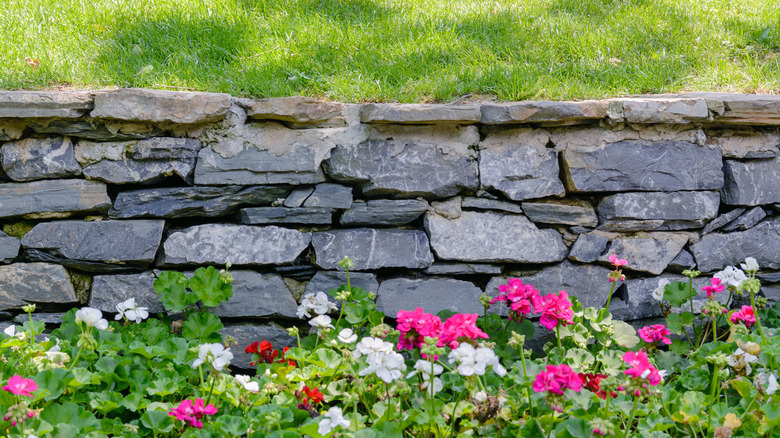
The type of materials you choose for your retaining wall can significantly impact the overall cost. Natural stone, while beautiful and durable, can be expensive, especially if you purchase newly quarried pieces. Instead, look for cost-effective alternatives such as reclaimed stone, broken concrete, or repurposed bricks. These materials are often available at a fraction of the cost and can sometimes even be found for free from construction sites or online marketplaces.
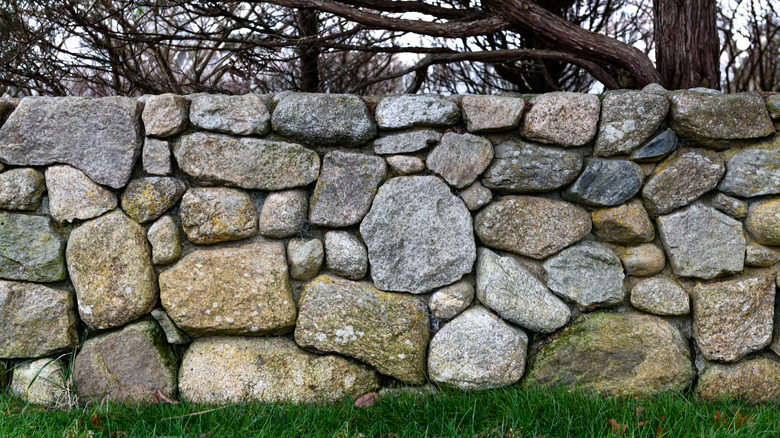
Another budget-friendly option is dry-stacked stone walls, which don't require mortar or concrete – we'll get into these more later. By carefully selecting stones that fit well together, you can create a sturdy wall without the added cost of binding materials. Additionally, gabion walls, which use wire cages filled with stones, are another affordable and visually striking alternative that requires minimal investment in specialized materials. Choosing the right materials strategically will ensure you get a durable, attractive wall without unnecessary spending.
Designing your wall with budget in mind
To save money, opt for a straightforward layout that avoids unnecessary curves or angles, as complex designs often require additional materials and labor. Keeping the wall height within three feet can also reduce costs, as taller walls typically require reinforcement.
Leverage existing landscape features to minimize construction needs. If your garden already has natural rock formations or slopes, incorporate them into your design to cut down on material use. Additionally, consider using terracing techniques — building multiple smaller retaining walls instead of one tall one — which can be more affordable and effective in controlling erosion. If aesthetics are important, you don't need to splurge on premium materials. Strategically placing larger, eye-catching stones at focal points can create an attractive look without breaking the bank. Combining different stone types or adding decorative elements like creeping plants or building a plant wall, can further enhance visual appeal at a low cost.
Using readily available tools rather than renting specialized equipment can also reduce expenses. Hand tools like shovels, levels, and tampers will often suffice for a small to mid-sized wall. By keeping your design simple and working with the existing landscape, you can build an efficient and budget-friendly retaining wall.
Preparing the site efficiently
Site preparation is crucial for ensuring the longevity of your retaining wall. Start by clearing the area of debris, vegetation, and large rocks. If necessary, mark the perimeter of the wall using stakes and string to create a clear guide for digging.
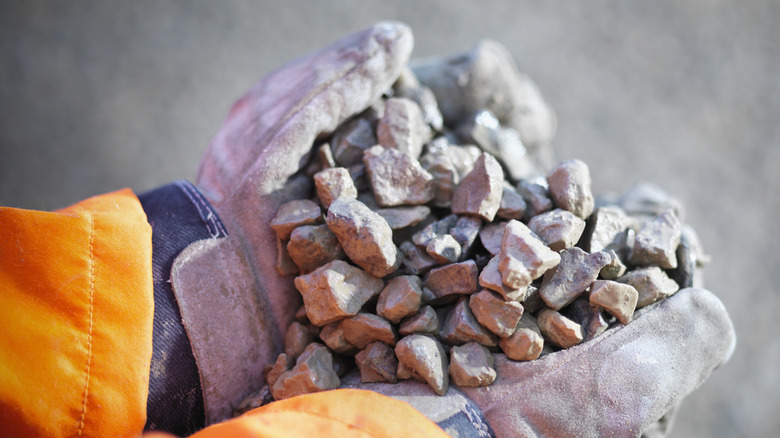
Excavating a proper base is one of the most important steps. A common mistake is failing to dig deep enough — your trench should be at least a foot deep. Additionally, at least one-tenth of the wall's height should be below ground level for stability. After digging, lay a solid foundation using compacted gravel or crushed stone. A 6-inch layer will provide excellent drainage and prevent shifting over time. Compact the base thoroughly using a hand tamper or plate compactor to avoid future settling.
Incorporate drainage solutions from the beginning. By efficiently preparing your site with these cost-effective measures, you ensure that your retaining wall remains strong and durable without the need for expensive repairs in the future.
Dry-stack the stones to save on mortar and labor

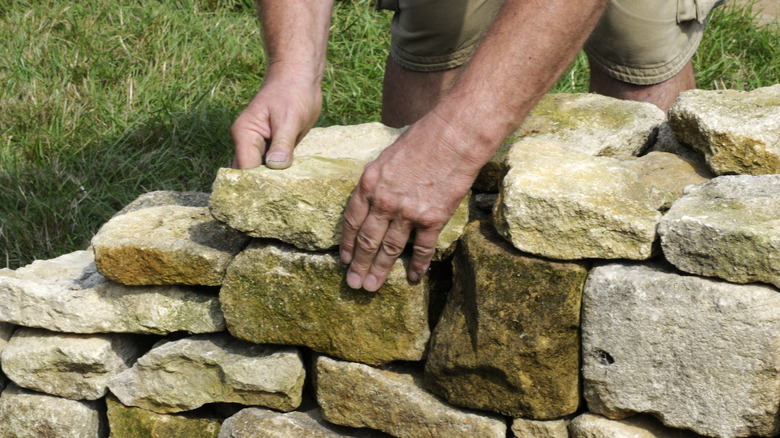
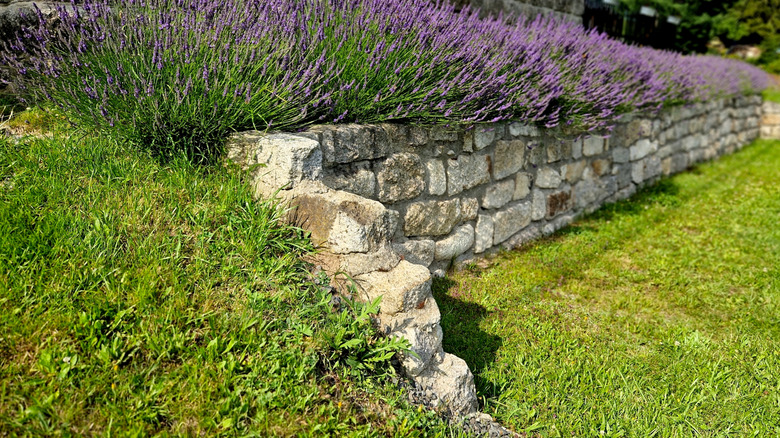
Dry-stacking, or building a wall without mortar, is an effective way to save both money and time when constructing a stone retaining wall. Mortar is expensive, and applying it requires extra labor and skill, especially if you are doing the project yourself. Dry-stacking allows for a simpler, more affordable process while still ensuring a stable and durable wall.
When dry-stacking, it's important to select the right stones. Opt for stones that have relatively flat surfaces, which will allow them to fit together tightly and evenly. The interlocking nature of these stones provides stability, as they support each other's weight without the need for additional adhesives. Over time, the weight of the stones will actually help to keep the wall intact, especially if each layer is slightly set back (a technique called battering) to improve the structure's overall strength. Aside from cost savings, dry-stacking also provides the benefit of better drainage. Since mortar can sometimes trap moisture behind the wall, dry-stacked walls are more effective at allowing water to flow freely through the gaps between stones. This natural drainage system reduces the risk of water pressure buildup, which is one of the main causes of retaining wall failure.
While dry-stacking may take a little longer to achieve the desired look, it offers a simpler, less expensive approach for those on a budget. If you're new to stonework, dry-stacking also provides more flexibility, as you can easily adjust or replace stones if needed, without worrying about damaging mortar.
Source free or cheap materials whenever possible
One of the easiest ways to save money on your retaining wall project is to find materials for free or at a discounted price. Many homeowners or businesses have leftover stone, gravel, or other landscaping materials that they are willing to give away or sell at a low cost. Start by asking around your neighborhood or community for any unused materials, or check online marketplaces such as Craigslist, Facebook Marketplace, or Freecycle.
In addition to reclaimed materials, many local stone suppliers or landscaping companies sell surplus stock at discounted prices. If you have the flexibility to wait for a sale, you may be able to get materials at a fraction of the original cost. Some suppliers may also have "seconds" or "blemished" stones that are still perfectly functional but have cosmetic imperfections, which can be a great option for building a more affordable wall.
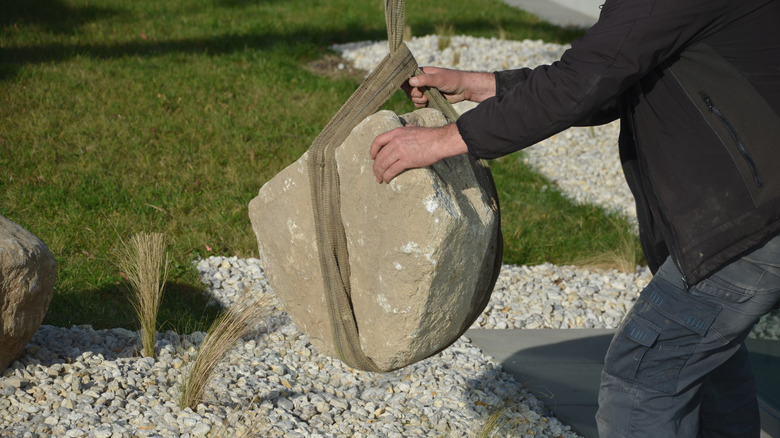
Another option is to look for stone from your own property or nearby areas. If you live on land with access to rocks or stones, consider collecting them yourself. Be sure to get permission if you plan to gather stones from public or private property. Collecting your own stone is not only cost-effective but also allows you to select stones that match your specific design vision. By sourcing materials creatively, you can significantly cut down on the overall cost of your retaining wall project.
Build in sections to spread out costs
If your budget is tight, building the retaining wall in phases is an excellent strategy. Instead of attempting to complete the entire wall at once, focus on finishing one section at a time. This approach allows you to spread out the cost of materials and labor over a longer period, making it more manageable. You can purchase the materials for each section as you go. This also gives you the opportunity to take advantage of sales, discounts, or unexpected deals along the way.
Another advantage of building in sections is that it allows you to tackle the project at your own pace, which can reduce the feeling of being overwhelmed. If you run into challenges or need to make adjustments to your design, you'll have the flexibility to do so without the pressure of completing the entire wall in a short period. Plus, this method gives you time to assess the finished sections for any potential issues and make improvements as you proceed with subsequent phases.
By dividing the project into smaller parts, you also have the opportunity to make adjustments to your budget as needed. If you find that you're spending more on one section than planned, you can modify the next section to be more cost-effective. Building in stages makes the retaining wall project more accessible and allows you to remain within your budget without sacrificing quality.
Maintain your wall to avoid future expenses
Proper maintenance is key to preserving the lifespan of your retaining wall and avoiding costly repairs down the line. Regular inspections can help you identify small issues before they become big problems. Start by checking the wall for any signs of shifting, cracking, or water damage. Ensure that the drainage system is still functioning effectively, as poor drainage is one of the main causes of wall failure.
Periodically remove debris, such as leaves or soil buildup, from behind the wall to keep water from accumulating. Ensure that any drainage pipes, weep holes, or gravel backfill remain clear so water can easily flow through the wall. If you notice any cracks, address them promptly by filling them with appropriate materials, such as a specialized filler for stone or masonry.
Additionally, check for any signs of erosion, particularly at the base of the wall, as this can compromise the foundation. You can also reinforce the wall with additional stone or gravel if needed. By staying proactive with maintenance, you can ensure the wall remains stable and aesthetically pleasing, preventing larger and more expensive repairs in the future. Regular care can extend the life of your retaining wall and help you avoid unexpected costs over time.