The Most Clever DIY Cookstove Or Fire Starter To Keep Handy While Camping
We may receive a commission on purchases made from links.
Whether for ambiance, heat, light, or cooking campfire meals, a fire is an essential element for overnighting outdoors. But, building the perfect campfire can be challenging, especially if you haven't been able to keep your campfire essentials dry. There is, however, a clever way to create a compact gadget that can be used as either a mini cookstove or fire starter. These DIY products are not only weather-proof, dependable, and long-burning, they are inexpensive and easy to make. It is also possible to reuse them over the course of several trips.
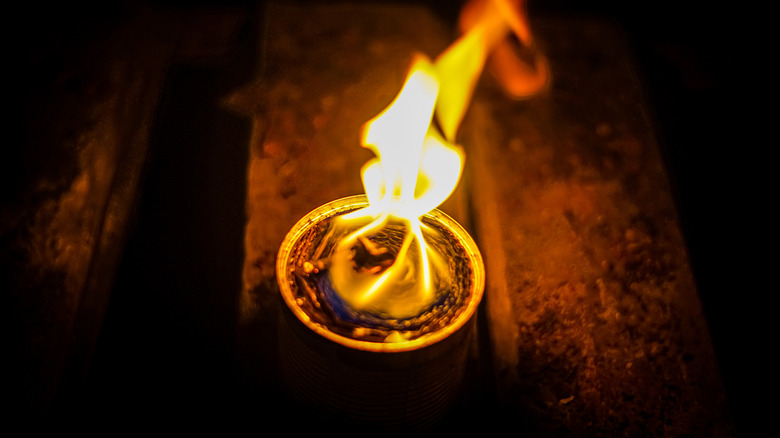
Often known as trench candles, these flammable devices require only a few simple and easy-to-find supplies. The first is some sort of can. Tuna cans, or tins of similar size, are ideal for an all-around heat source for heating food or as a fire starter. But, depending on the intended use, can sizes may vary. If it is meant to be used primarily as a cookstove, a larger can will allow for more heat. For this purpose, shorter, wider cans are best. If it is only to be used as a fire starter, a smaller can may be a better choice, as it is more packable and multiple units can be easily carried. Additionally, you can use wax cups as opposed to metal cans for creating single use fire starters as they burn completely.
The next essential for creating these DIY cookstove/fire starters is wax. A block of paraffin wax is relatively inexpensive and can be used to create several trench candles. It is also possible to cut up emergency candles or use remnants from used candles. The final supply is some sort of burnable binder for the wax. To that end, there is no shortage of suggestions, including wood shavings, sawdust, corrugated cardboard, shredded paper, cotton balls, and pine cones.
How to make and use a cookstove candle
Once you've gathered the necessary supplies, it is time to make your cookstove candles. In addition to the supplies, you will need an old pot, a wood or metal spoon, and a source of heat — either a fire or stove. It is also handy to have a large, open space to work.
Start by placing all of the cans in a row and filling them with the burnable binder material. You can also use pieces of cardboard or slivers of wood as wicks by placing them in the can to where they extend above the fill line. Then, melt the wax in the pot. It can be helpful to add a small bit of water. Once the wax is completely melted, pour wax over the burnable binder, filling the container. This can also be done in layers, but placing binder, covering with wax, then repeating until the container is full. If a wick is not used, it is best to leave some of the burnable binder extending above the fill line to help when lighting.
At that point, you have created a fuel source that can be portable and is inherently waterproof thanks to the wax. To light this contraption, simply light the wick or a portion of the exposed burnable binder. In order to use it as a cookstove, place it beneath a grate or between rocks which can hold the pot, pan, or cup you are hoping to heat. Of course, you can incorporate this trench candle with many other cooking methods to cook delicious campfire meals. When done, extinguish by smothering with a lid or flat rock. As a fire starter, the candle should be placed beneath a teepee of kindling. Once the kindling has caught, add progressively larger pieces of wood (you can follow our guide on the best types of wood to use for campfires). Be sure to remove the burnt out can after the fire has been completely extinguished and cooled.
