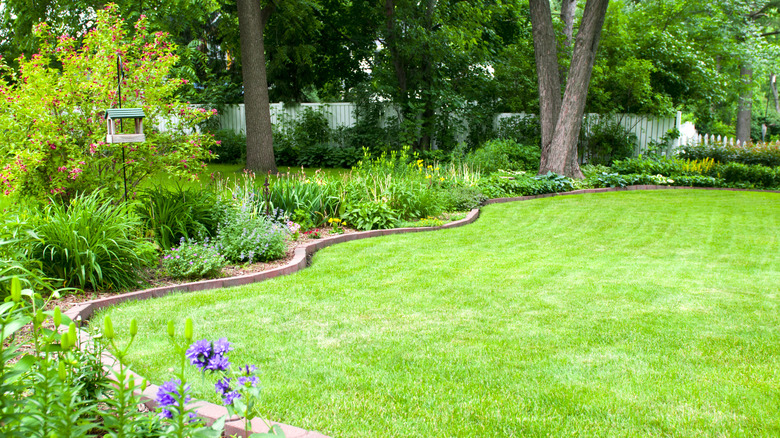
How To Easily Edge Your Curved Lawn
Edging a curved lawn can transform your yard, adding both structure and charm. For a custom, permanent edge, consider a concrete trench. This approach involves marking your desired curve, then digging out a trench that matches its shape. While it's a bit more labor-intensive, it allows complete control over the design, fitting snugly against any curve without gaps. When setting up your trench, you could also consider leveling bumpy patches of lawn with a nutrient-rich soil mix.
To start, plot your curve using a garden hose or rope; this will serve as a guide to ensure your layout is smooth and consistent. Then, begin digging your trench. Alternatively, you could choose flexible edging materials like metal or plastic strips. These are great if you want an easier installation but still want to create fluid, freeform curves. Plastic edging is simple to install and can be adjusted to your curve, although it may not have the visual weight and permanence of concrete. Metal edging is sleek and flexible as well, and it holds up to weathering better than plastic.
Concrete, however, remains the most customizable and professional-looking option. Though it takes a bit more preparation, the result is a tailored edge that flows perfectly with your lawn and is extremely long-lasting. You can also personalize the look of your concrete edge with texture or color treatments. To add colour to your lawn, on the other hand, adding Epsom Salt can maintain its rich green hue.
Creating the trench and securing a smooth concrete border
The next step is to dig the trench and prepare the form to ensure a smooth, even border. Begin by laying down a garden hose or rope along the curve of your lawn to mark your line. This helps you visualize the shape. You'll likely want a clean, professional look (this is the sort of outdoor update that can add serious value to your home). To achieve this, dig a trench about 4–6 inches deep and 4-8 inches wide. After removing the soil, tamp down the base of the trench to create a sturdy foundation.
To keep the curve consistent while pouring concrete, install 1-by-1-inch wooden stakes every few feet along the trench. Then, use flexible hardboard or plastic sheeting on both sides of the trench to act as a mold. These sheets can be secured to the stakes and serve as a guide for the concrete. Place spacers along the width to keep the mold stable, even as you pour the concrete, and remove them as you go. Mix the concrete until it has a thick, oatmeal-like consistency that's easy to spread, and pour it into the trench in small sections, spreading it evenly with a trowel to keep the height consistent.
Once the concrete has partially set, use a float to smooth the surface. To prevent cracking over time, cut shallow expansion lines about an inch deep every few feet along the length of the border. After the concrete has cured, carefully remove the stakes and any remaining form material, then fill gaps along the edge with soil.

