Easy Steps To Transform A Log Into The Most Gorgeous Planter
If you have a yard or garden, then you probably already know that there are some times when you just end up with a bunch of logs — whether that is because a storm came through and blew down a couple large branches or because one of your trees died and you had to have it cut down for safety. Either way if you don't have a fire pit, it can be hard to figure out what to do with all those logs. While you could build your own budget-friendly fire pit, another option is to take those logs and make gorgeous planters.
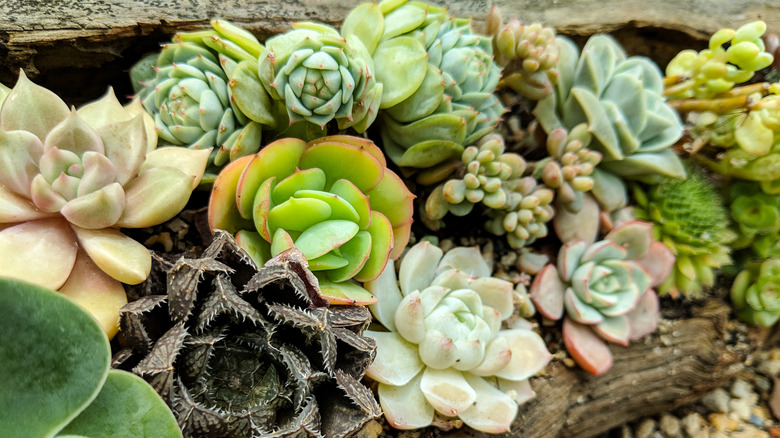
This is a great idea because not only are log planters the perfect addition to a rustic or cottage-style garden, but they are also good for the ecosystem. Plus, with a few tools (like a drill, wood boring bit, and a spade bit) you can easily make a log planter yourself. However, before you start making your planter, it is important to choose what types of plants you want to put inside because this will help you know how large your planter needs to be. Most log planters are shallow, so plants with short root systems like succulents or annual flowers tend to work best.
How to make a rustic log planter for your garden
The first step in making your planter is to choose your log. You shouldn't be afraid to pick a log with a little character and choosing one with some moss or lichens growing up the side can even add to your planter's rustic charm. You should also try and choose a log that is completely flat and level on one side so that it sits upright without wobbling. If your log is not level, you may need to saw off part of it to make it flat.
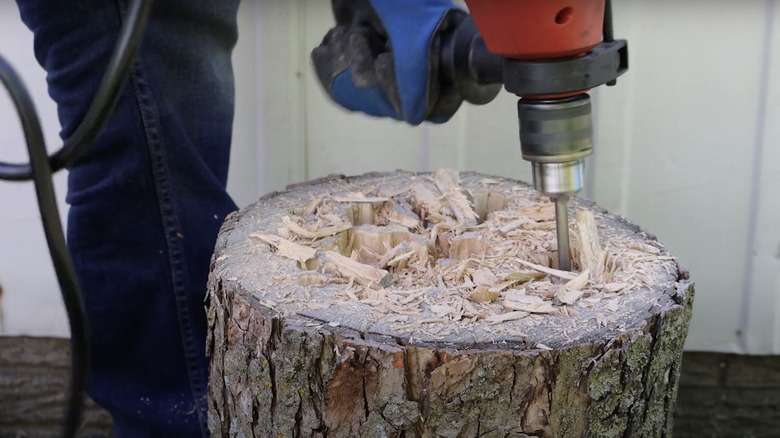
Once you have your log, it's time to hollow it out. Go ahead and set your log upright so that one of the flat ends is facing down. Now, put on your safety goggles and gloves then take your drill with your wood boring bit and make a hole in the top of the log that is about four inches deep and four inches wide. To create a large enough hole, you may have to make multiple incisions with the drill. If your wood boring isn't getting the job done, you may need to use a spade or paddle bit (although beware that it is possible to ruin a spade bit this way). You may also choose to use a Forstner bit, which can drill a wider hole and make the job easier.
Finishing touches and other ideas
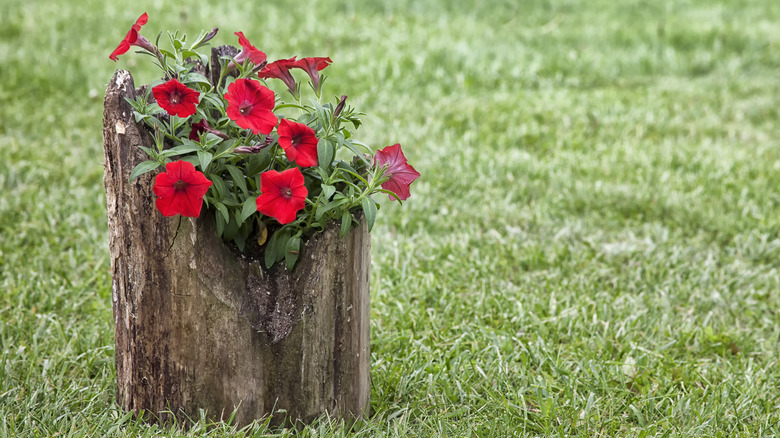
Now that you have hollowed out your log and created a planter, it is time to start filling the log with the plants of your choice. However, before you add in some soil and plants, it's a good idea to put down a layer of landscape fabric to help keep the moisture from the soil from rotting the wood. Alternatively, you could also drill a few small holes through the bottom of your planter and add a layer of activated charcoal under the soil to help with drainage. Once that's done, you can go ahead and add your potting soil and chosen succulents or annual flowers.
While upright log planters are probably the easiest to make, you can also make a long trough-style planter by going through a similar process but hollowing out the side of a log instead of the top. However, a log on its side is much less stable than a log sitting upright — so, if you choose this method, it is important to first screw a flat board into the bottom of your soon-to-be log planter so that it doesn't wobble around while you are hollowing it out. For more DIY project ideas, check out how to make a beautiful planter from an old wine box.